Where do I start?
Seed starting is definitely a labor of love. You labor over the seed brand(s) and then, you labor over the varieties. And, lastly, you labor over how to get that package of seeds to grow into strong, productive plants. That is a simplified outline of how this works.
When you are reading through seed catalogs, there are a few things to know. Do they treat all their seeds and are you ok with that? Do the descriptions all seem to be very similar or vague? And, finally, do they have varieties with the traits that you want? If a company passes these questions, I like to compare the description of any new, or new to me, plant with descriptions from other companies to make sure it truly meets the desired criteria. This last step can be an eye opener. If you compare with a large, reputable company and there are big differences, chances are that the cheaper seed company is using generic plant descriptions. This can lead to huge disappointment. Beware of very cheap seeds. You often get what you pay for, or even worse, you get a package that contains a number of weeds!
Got my seeds! What else?
Now that you have selected and purchased your seeds, you need to know how many of each you need to start before spring arrives. For me, this means a spreadsheet so I can keep all the numbers straight and can look back at it later.
The game changing item that improves seed starting is a heat mat. There are waterproof heat mats made specifically for seed starting. Keeping the soil, water, and planting area warmer will improve everything about seed starting. Some people use the top of their refrigerator.
You’ll need a light source that can be placed very close to the emerging plants and is easily raised as the plants grow. There are all kinds (and price ranges) for light fixtures. I use 4’ long LED shop lights that are full ‘daylight’ color. Place the light(s) very close as soon as the seedling emerges and move it up as the plant grows.
Lastly, you need good seed starting mix. This is a specific product that is light, well draining, and neutral. Many seed starting mixes are sterile, so you start with “clean” product. There are no pathogens present at the time the bags were packaged, so it gives you a good foundation to help keep fungus and diseases at bay.
Oh, you’ll need containers. No matter if you use old yogurt containers, plastic cups, or 1020 seed starting trays, they need good drainage holes and should be disinfected and dried before use. It is extremely beneficial to have a solid tray of some type under your seeding vessels. Watering from below allows the mix to wick up water as needed and keeps your seed/seedling in place.
When you’re ready to seed, make plant tags for each container or mark your cups. Include the plant variety and date you are seeding. If you make these ahead of time, it makes seeding go fast and keeps your seeds correctly labeled. Mostly fill your container(s) with seed starting mix and grab your supplies!
Place your tags for your first variety, and follow right behind with your seeds. *For plants that require deeper seed placement (like peas), you can make a small indentation in each cell before seeding. You can use a single seed per container and monitor your germination closely, or you can drop two seeds in each and know that you will be pulling one and composting it. Move on through the rest of your plants. This method keeps your tags and seeds in unison and there is no wondering what’s what later.
After you’ve set all your tags and seeds, it’s time to lightly top the seeds with more of your starting mix. Go lightly and try not to scrape it around because it will move your seeds. Once you’re happy with the seed coverage, you can mist the top of the tray/containers to help set the soil in place and allow for good soil to seed contact.
Water and walk away?
Set your water-holding tray on the heat mat, pour some warm water in, and set your seed flat/containers in and walk away. Give the water 30 minutes or so to wick up and you can put more in the tray, if needed. If your tray system has a clear dome cover, put it on now to retain heat and moisture. You can use plastic wrap directly on your seed containers or use something as a frame to drape a sheet over the entire growing area. These things will help keep heat on the seeds. Once they germinate, then I suggest removing the hard barriers and switching to fabric which will hold heat but allow excess humidity to vent out. The heat mat will cause some evaporation, so check twice a day until you can see a pattern of when they need water.
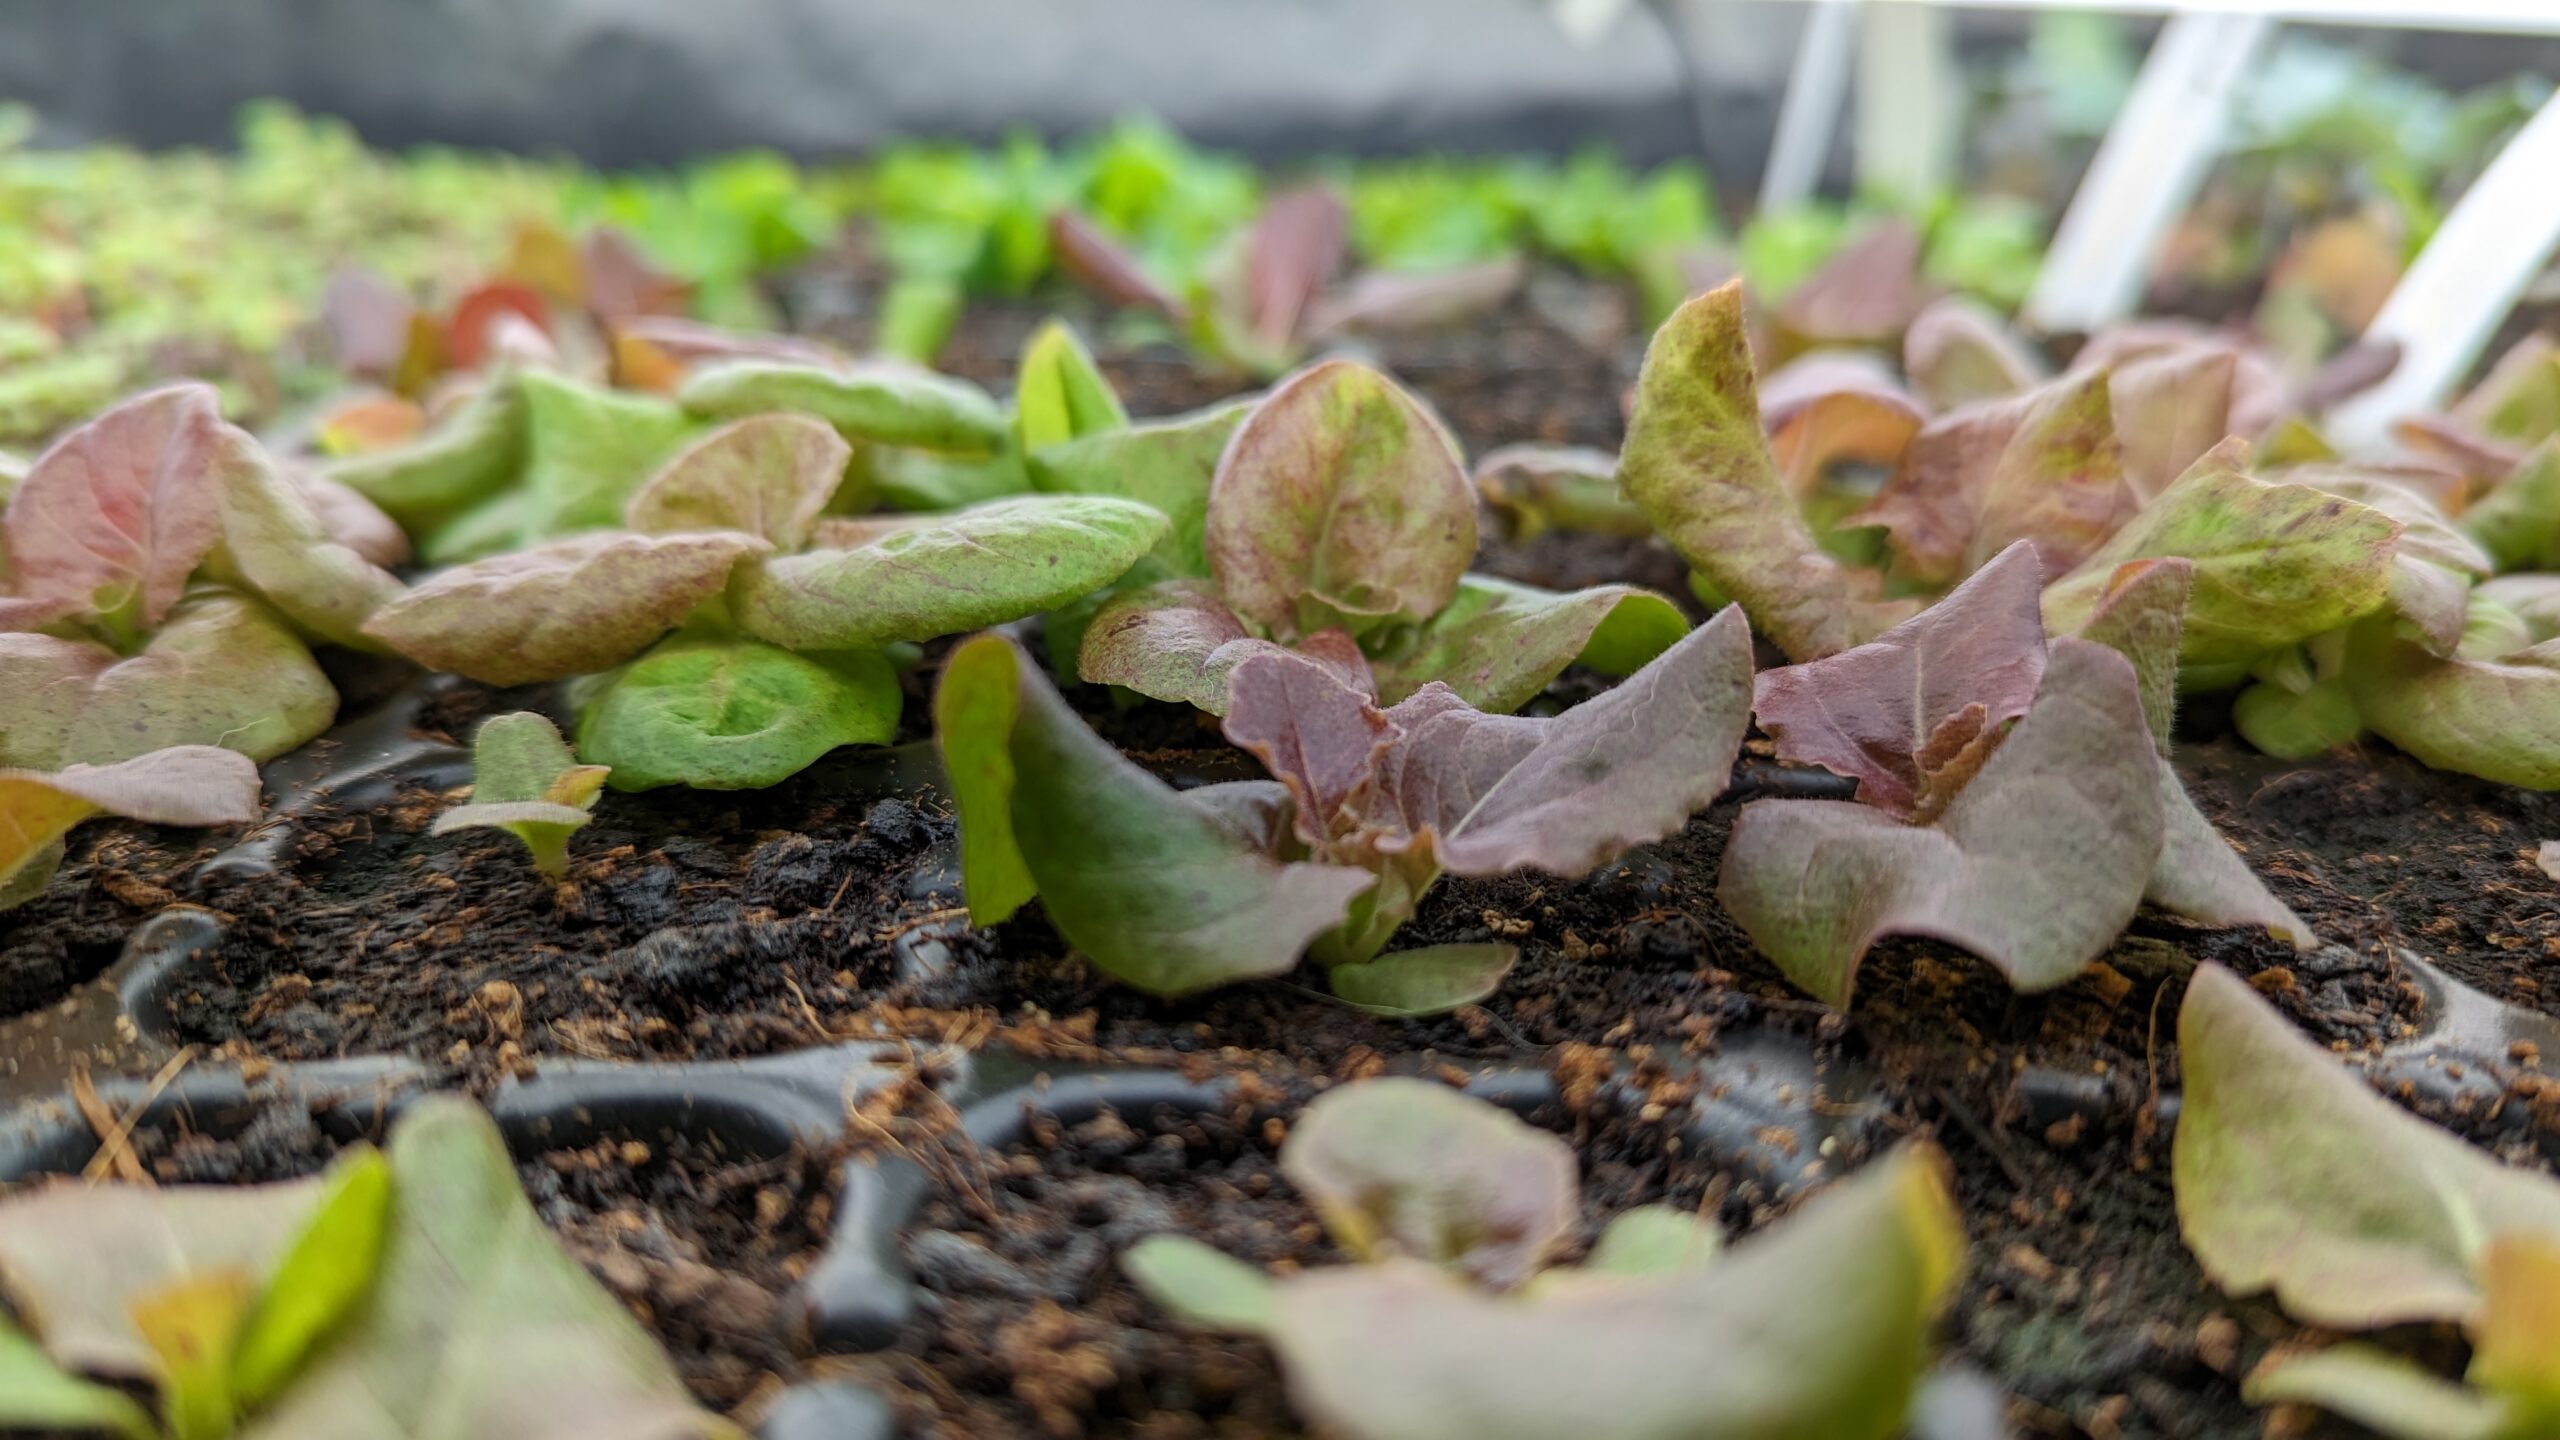
As soon as there is germination and the cotyledons (baby leaves) are growing, you need to have your light on and very close to the plants. The light will also produce more heat, so keeping the entire growing area covered will keep all parts of the plant and growing area consistently warm. Your lights should be on for 14 hours a day in the beginning. After a couple of sets of true leaves have emerged, you can reduce light to 12 hours. This step will help as the plants get ready to be planted outdoors. It is during this time of rapid growth that your plants will start using much more water, so keep a close eye on your water trays.
As your plants get larger, watch for plants that are touching each other and consider moving or potting into larger containers. Plants in this young stage are pretty delicate, so rubbing can create wounds that lead to disease and possibly death of the plant. Once plants are beginning to look like ones you see in the nursery, open their cover some during the day and put an oscillating fan on them several feet away for an hour or two to help mimic gentle breezes. This will help strengthen the stems and keep them from having issues due to excess moisture or humidity.
Do not skip this step!
The last step is called hardening off. This step gets them ready to be planted outdoors. Skipping this step is a sure way to watch your hard work wither up – literally. These baby plants need to go outside where UV rays are much more intense (even in the shade) and get accustomed to real breezes and changes in conditions. BUT, this process needs to happen over 7-10 days. On day one, I put mine outside for a hour and not in direct sun or wind. Each day, they spend a little more time, and I am constantly checking on how they’re doing. A few too many gusts, and they will be drooping from moisture loss and exposure. Find or make a space that keeps them safe, but gently exposed. This part, honestly, is when my stress level goes up. The time and work that has gone into growing these plants can all be gone in a couple of hours with the wrong weather hitting them.
For the last couple of years, my plants have been potted into 4.25” square, extra deep pots, placed in secure flats, and then into a large trailer with thirty inch sides and and a piece of shade cloth over the top. The trailer does a decent job at wind protection, but the addition of shade cloth kept the sun’s rays from overdoing it, and a bonus was that it slowed the winds, too.
No matter if you’re starting flowers, vegetables, or herbs, the process is pretty much the same. Keep them warm, well lit, and watered. Happy seed starting!
So glad I have your expertise to rely on 🤩